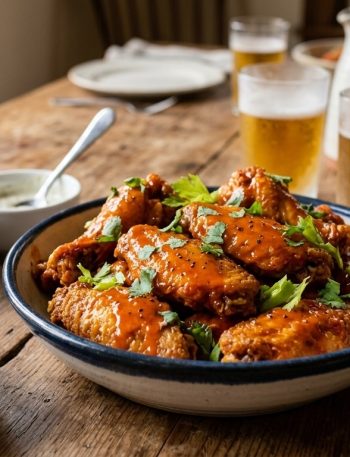
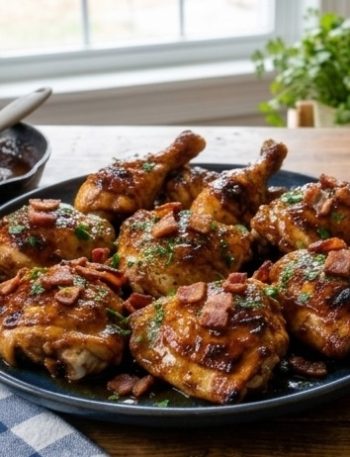
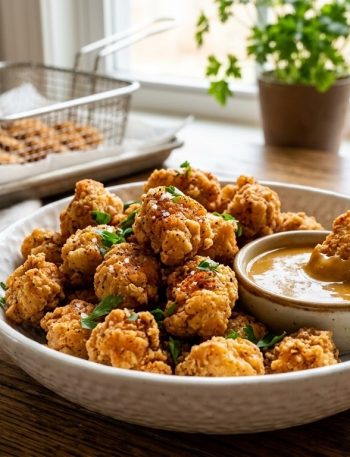
There is a universal craving that hits every single one of us: the irresistible, loud crunch of golden-brown fried chicken, followed by juicy, tender meat that practically melts in your mouth. Whether it is served bucket-style with your favorite dipping sauces or stacked high inside a toasted brioche bun with crisp lettuce and spicy mayo to make the ultimate Chicken Zinger Burger, fried chicken is the undisputed king of comfort food.
While fast-food chains have perfected the art of convenience, nothing compares to the satisfaction of making an even better, crunchier, and juicier version right in your own kitchen.
In this comprehensive, step-by-step guide, we are going to break down the science of ultra-crispy fried chicken and show you how to transform those golden tenders and fillets into a world-class Zinger burger that rivals your favorite takeout spot.
The Secret Behind Restaurant-Quality Fried Chicken
Before we dive into the kitchen, let’s talk about why restaurant fried chicken tastes so much better than homemade attempts. It usually comes down to three non-negotiable pillars:
- The Marinade (The Acid & Dairy Balance): Soaking chicken in buttermilk or yogurt does more than just tenderize the meat; it allows the breading to cling aggressively to the surface.
- Double Dredging & Resting: Pressing flour deep into the wet chicken and letting it rest creates those signature craggy, ultra-crunchy "scales" on the fried crust.
- Oil Temperature Control: Frying at a consistent 350°F (175°C) ensures the coating cooks to a golden crunch without burning before the inside reaches a safe, juicy temperature.
Part 1: The Ultimate Buttermilk Fried Chicken Base
This recipe serves as the foundation for both standalone crispy fried chicken pieces and your Zinger burger fillets.
Ingredients
For the Chicken & Marinade:
- Chicken: 1.5 kg (mix of thighs, drumsticks, or wide boneless skinless chicken breasts sliced horizontally for burgers).
- Buttermilk: 2 cups (If you don't have buttermilk, mix 2 cups of whole milk with 2 tablespoons of fresh lemon juice or white vinegar and let it sit for 10 minutes).
- Hot Sauce: 2–3 tablespoons (adds a subtle background kick without making it overly spicy).
- Garlic Paste: 1 tablespoon
- Salt: 1.5 teaspoons
- Black Pepper: 1 teaspoon
For the Dry Dredge:
- All-Purpose Flour: 3 cups
- Cornstarch: 1/2 cup (the secret weapon for an extra-crispy, shattering crunch)
- Paprika or Kashmiri Chili Powder: 1 tablespoon (for gorgeous color and warmth)
- Garlic Powder: 2 teaspoons
- Onion Powder: 2 teaspoons
- Cayenne Pepper: 1 to 2 teaspoons (adjust based on your heat preference)
- Baking Powder: 1 teaspoon (helps aerate the crust)
- Salt & Black Pepper: To taste
For Frying:
- Neutral Cooking Oil: Vegetable, canola, or peanut oil (enough to fill your deep pan or Dutch oven about 2 inches deep).
Step-by-Step Instructions
Step 1: The Marinade (Patience Pays Off)
- In a large bowl, whisk together the buttermilk, hot sauce, garlic paste, salt, and black pepper.
- Submerge your chicken pieces or burger fillets into the mixture, ensuring every piece is completely covered.
- Cover the bowl tightly and place it in the refrigerator for at least 4 hours, though overnight (12 to 24 hours) yields the most tender, deeply flavored meat.
Step 2: Setting Up the Dredging Station
- In a large, wide bowl or baking dish, whisk together the all-purpose flour, cornstarch, baking powder, paprika, garlic powder, onion powder, cayenne pepper, salt, and black pepper.
- Pro Tip for Extra Flakes: Take 3–4 tablespoons of the liquid buttermilk marinade and drizzle it directly into the dry flour mixture. Use your fingers to rub it in until small, pebble-like flour crumbs form. This guarantees those thick, crunchy crags on your fried chicken.
Step 3: The Double Dredge
- Remove your chicken from the buttermilk marinade, letting any excess drip off gently (do not shake it completely dry).
- Drop the chicken into the seasoned flour mixture. Use your hands to press the flour firmly into every crevice of the meat, ensuring a thick, uniform coating.
- Dip the floured chicken back into the buttermilk for 1 second, then immediately back into the flour mixture for a second press. This double-layer technique builds a robust, bakery-style crust.
- Transfer the coated chicken to a wire rack and let it rest for 10 to 15 minutes. This crucial resting step allows the coating to hydrate and set so it won't slide off during frying.
Step 4: Frying to Golden Perfection
- Pour your neutral oil into a heavy-bottomed Dutch oven or deep fryer, heating it to 350°F (175°C). Use a candy or deep-fry thermometer to monitor the temperature closely.
- Carefully lower the chicken pieces into the hot oil in batches. Do not overcrowd the pan, as this will cause the oil temperature to plummet and make your chicken soggy and greasy.
- Cooking Times:
- Boneless chicken breast fillets (for burgers): 6 to 8 minutes.
- Bone-in thighs and drumsticks: 12 to 15 minutes.
- Once the chicken reaches a deep golden brown and the internal temperature hits 165°F (74°C), remove it using a wire spider or slotted spoon.
- Transfer the fried chicken to a clean wire cooling rack set over a baking sheet (avoid paper towels, which trap steam and soften your hard-earned crunch).
Part 2: Assembling the Legendary Chicken Zinger Burger
Now that you have mastered ultra-crispy fried chicken, let's assemble the ultimate Chicken Zinger Burger—stacked high, packed with flavor, and bursting with textures.
Ingredients for the Burger Assembly:
- Burger Buns: 4 brioche buns or potato buns, lightly buttered and toasted.
- The Sauce (Zinger Mayo):
- 1/2 cup mayonnaise
- 1 tablespoon sriracha or hot sauce
- 1 teaspoon sweet chili sauce or honey
- 1/2 teaspoon garlic powder
- A squeeze of fresh lemon juice
- Fresh Toppings:
- Crisp iceberg lettuce, finely shredded
- Ripe tomato slices
- Sliced cheddar cheese or American cheese slices (optional, but amazing when melted over the hot fillet)
- Jalapeño slices (for extra heat)
Step-by-Step Assembly Instructions
- Toast the Buns: Place your buttered brioche buns face down on a hot skillet or griddle for 60–90 seconds until golden brown and slightly crisp. This creates a moisture barrier so your sauce doesn't make the bun soggy.
- Mix the Sauce: In a small bowl, whisk together the mayonnaise, sriracha, sweet chili sauce, garlic powder, and lemon juice until smooth and creamy.
- Dress the Base: Slather a generous amount of Zinger mayo on both the top and bottom interior halves of your toasted buns.
- Layer the Greens: Place a handful of crisp, shredded iceberg lettuce on the bottom bun. The shredded lettuce acts as a structural cushion to catch any escaping juices.
- Add the Star Fillet: Lay your freshly fried, piping-hot crispy chicken breast fillet directly over the lettuce. If you are using cheese, place the slice on top of the chicken immediately after it comes out of the fryer so it melts from the residual heat.
- Top and Crown: Add sliced tomatoes and jalapeños if desired, then press the top brioche bun down gently.
Chef’s Secrets for Next-Level Success
- Maintain Oil Temp: If your oil is too hot, the outside will burn before the inside cooks. If it's too cool, the chicken will absorb too much oil and turn out greasy. Keep a watchful eye on your thermometer.
- Spice Adjustment: If you are cooking for kids or people who prefer mild flavors, omit the cayenne pepper from the flour dredge and keep the hot sauce out of the buttermilk. For an extra fiery "Zinger" kick, mix a tablespoon of hot sauce into melted butter and brush it over the fried fillet right before assembly.
- Resting is Mandatory: Never skip the 15-minute rest after breading. It is the single biggest factor in keeping the crust attached to the chicken.
Conclusion
There is nothing quite like biting into a piece of homemade fried chicken that shatters with every crunch, or sinking your teeth into a towering, sauce-drenched Chicken Zinger Burger that beats any fast-food drive-thru. With the right marinade, a double-dredge technique, and precise temperature control, you can bring restaurant-quality perfection straight to your kitchen table.
Whip up a batch this weekend, fire up the stove, and enjoy the ultimate comfort food experience!